Moving your jewelry can feel stressful, you know. There’s just so much small stuff, and it’s easy to misplace things or tangle necklaces if you’re not careful. I usually start by gathering little boxes or pouches, some sealable bags, and a bit of padding. Honestly, sometimes I stare at all the jewelry thinking, “Where do I even start?” A dependable moving company might give tips or even help with fragile items if you’re unsure. Taking a few minutes to plan really helps; you end up panicking over lost earrings or bent rings later.
And, yeah, it’s weird how quickly tiny things like chains and bracelets can get messy in a box. You might think, “It’s just a bracelet,” but one bump and everything gets tangled. It happens faster than you expect, so a little prep is worth it.
Gather Necessary Packing Supplies
First thing, get all your supplies together so you’re not scrambling mid-move. Small jewelry boxes or pouches are great for keeping each piece safe, and sealable plastic bags help separate different items so they don’t get tangled. I usually throw in some soft cloths too, like polishing cloths, because shiny stuff scratches easily.
You can also wrap some pieces in bubble wrap or padded pouches for extra protection. And then, you need a larger sturdy container to hold all these little things together. Having everything ready before you start saves a lot of time and a bit of headache later.
Organize and Sort Your Jewelry
Next up, organizing your jewelry. I like to start by sorting by type: necklaces, rings, bracelets, and earrings. Then, if I’m feeling really methodical, I separate by material too, like gold, silver, or costume jewelry. Fragile pieces always get their own spot because they can easily get scratched or bent.
It also helps to jot down a quick inventory. I don’t always make it fancy, just a note or photo, so I know where everything is. Using trays or small containers while sorting keeps things from getting mixed up and makes packing smoother.
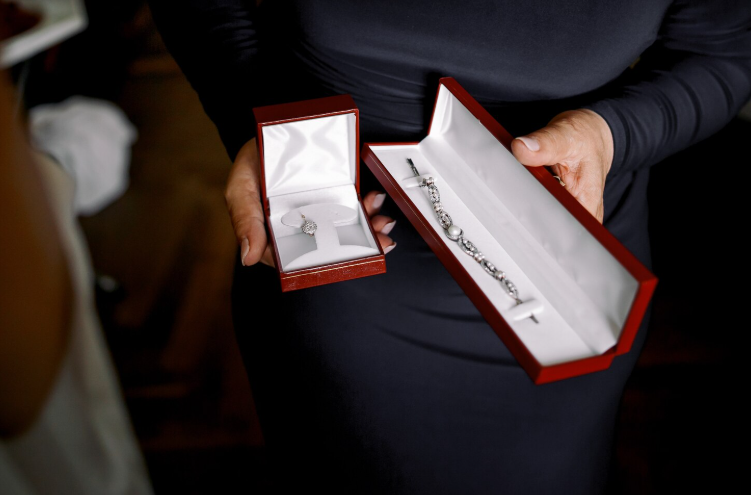
Use Individual Jewelry Pouches or Bags
Once sorted, putting each piece in a pouch is a lifesaver. Soft fabric or velvet pouches work best for delicate necklaces or earrings. Bigger bracelets or chunky rings can go in padded pouches. I even like clear ones sometimes, so I can see what’s inside without opening everything.
One piece per pouch is ideal. It seems slow, but trust me, it prevents tangles and scratches. Labeling each pouch a little helps, too, so you don’t want to be digging through fifty tiny bags later, wondering where that one earring went.
Secure Jewelry in a Sturdy Box
Then comes the box. Pick something sturdy that won’t collapse or open on its own. Line the bottom with a soft cloth, cotton, or even a small blanket. Put your pouches inside and try to keep pieces separate so they aren’t rubbing together.
Even a little movement during transport can scratch things, so padding everything is worth it. A solid box with some space for soft cushioning makes a difference.
Label Boxes for Easy Identification
Labeling is simple, but it makes life a lot easier. I usually write “rings” or “bracelets” on the box with a marker. Sometimes I add numbers or colors if I have a lot of boxes, but even a quick note is better than nothing.
Keeping an inventory or checklist helps too. That way, you’re not hunting for a missing necklace for hours. Clear labels save frustration and make unpacking so much smoother.
Consider Transporting Valuables Personally
Some pieces are too important to risk, so I take them with me personally. It’s safer, and I can access them if needed. Knowing they’re under my control also takes a lot of stress off.
It may seem a bit cautious, but carrying your most valuable items yourself is worth it. You avoid the “what if” panic and can relax a bit, knowing nothing got lost or damaged.
Related Topics: